Sunday 25 February 2018

Artefacts of Kyron Campaign Battle #6

Battle #6 saw the two sides clash in an Eliminate game as they sought to gain an upper hand before the climactic clash in battle #7 at the Gates of Kyron. Eliminate games involve placing a bounty on each of your three most expensive non-individual units, 1 VP is gained for killing an opponent's unit with a bounty in melee, no VP's for killing them with ranged fire. A bonus objective worth 1 VP is place in the centre of the table.
With the final battle in mind my plan going into the game was to make the capture of at least one of the Artifacts held by the Human forces my priority and then the capture of the bounties as a bonus if possible.
The battle saw the sides increase to 2,500 points with my Twilight Kin adding some more Herd allies in the shape of  Beast Packs and some long range punch with Twilight Bolt Throwers. The Humans opted to make sure the bounties where not placed on all their fastest units by fielding two Hordes of Foot Guards.

The forces of Men

The initial setup was favourable to my plan as the two artifacts where quite close together and one was placed on the squishy flying carpet unit. The other was on a Foot Guard Horde which would be a tough nut to crack but I felt should go down to concentrated fire.

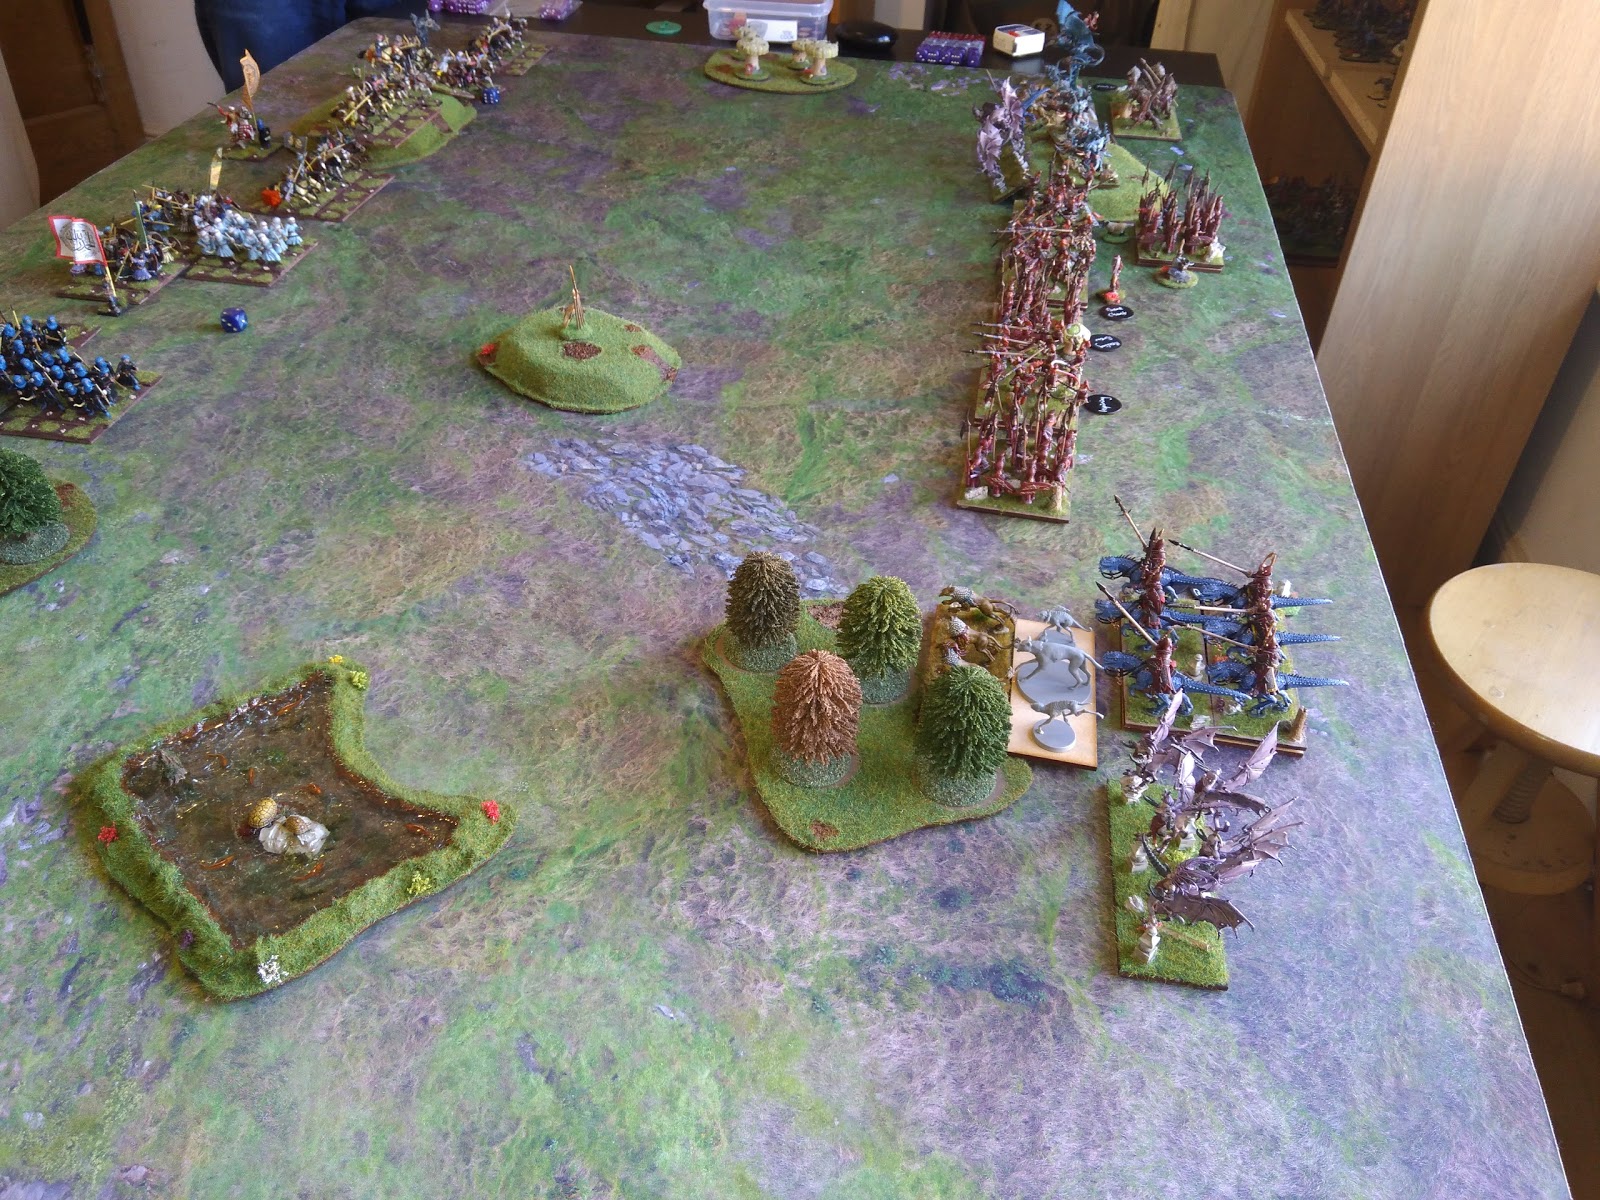
The forces of the Twilight Kin ( and Herd )
After the deployment was completed my brother remembered that possession of an Artifact reduced a units movement to 5" and he asked to move the Banner to another unit as he had put it on a speed 10 flying unit. I couldn't really say no as that would reveal my plan and as these are very much friendly games I took the setback as best I could. The banner did not go far but did end up behind the gigantic Oliphant ( chariot horde stand-in) and not directly faced by any of my units.


The bounties for my forces where placed on my Herd Lycans, my Shadows Regiment and my faithful Dark Knights. I think the Dark Knights have so far been my best performers, they have wiped out more units than any other part of my force and tend to take a lot of killing.


After the roll off Stuart won the right to choose first turn and asked me to go first. I made a general advance with units being careful to stay out of charge range of the plentiful cavalry on the wings and pushed further forwards towards the centre.


My artillery battery opened up on a unit of Human Knights and did some damage but not enough to worry them.

Battery Hill bottom right
The Humans then held the centre and pushed the wings forward, as the Gargoyles and Beast Pack out ranged their cavalry they opted to push forwards quickly in the hope to hem my troops in.


On the Kin left the combined fire of several units wiped out a Beast Pack Regiment (allowing me to get rid of some unpainted stand-ins).

The imposing Oliphant towers over the field

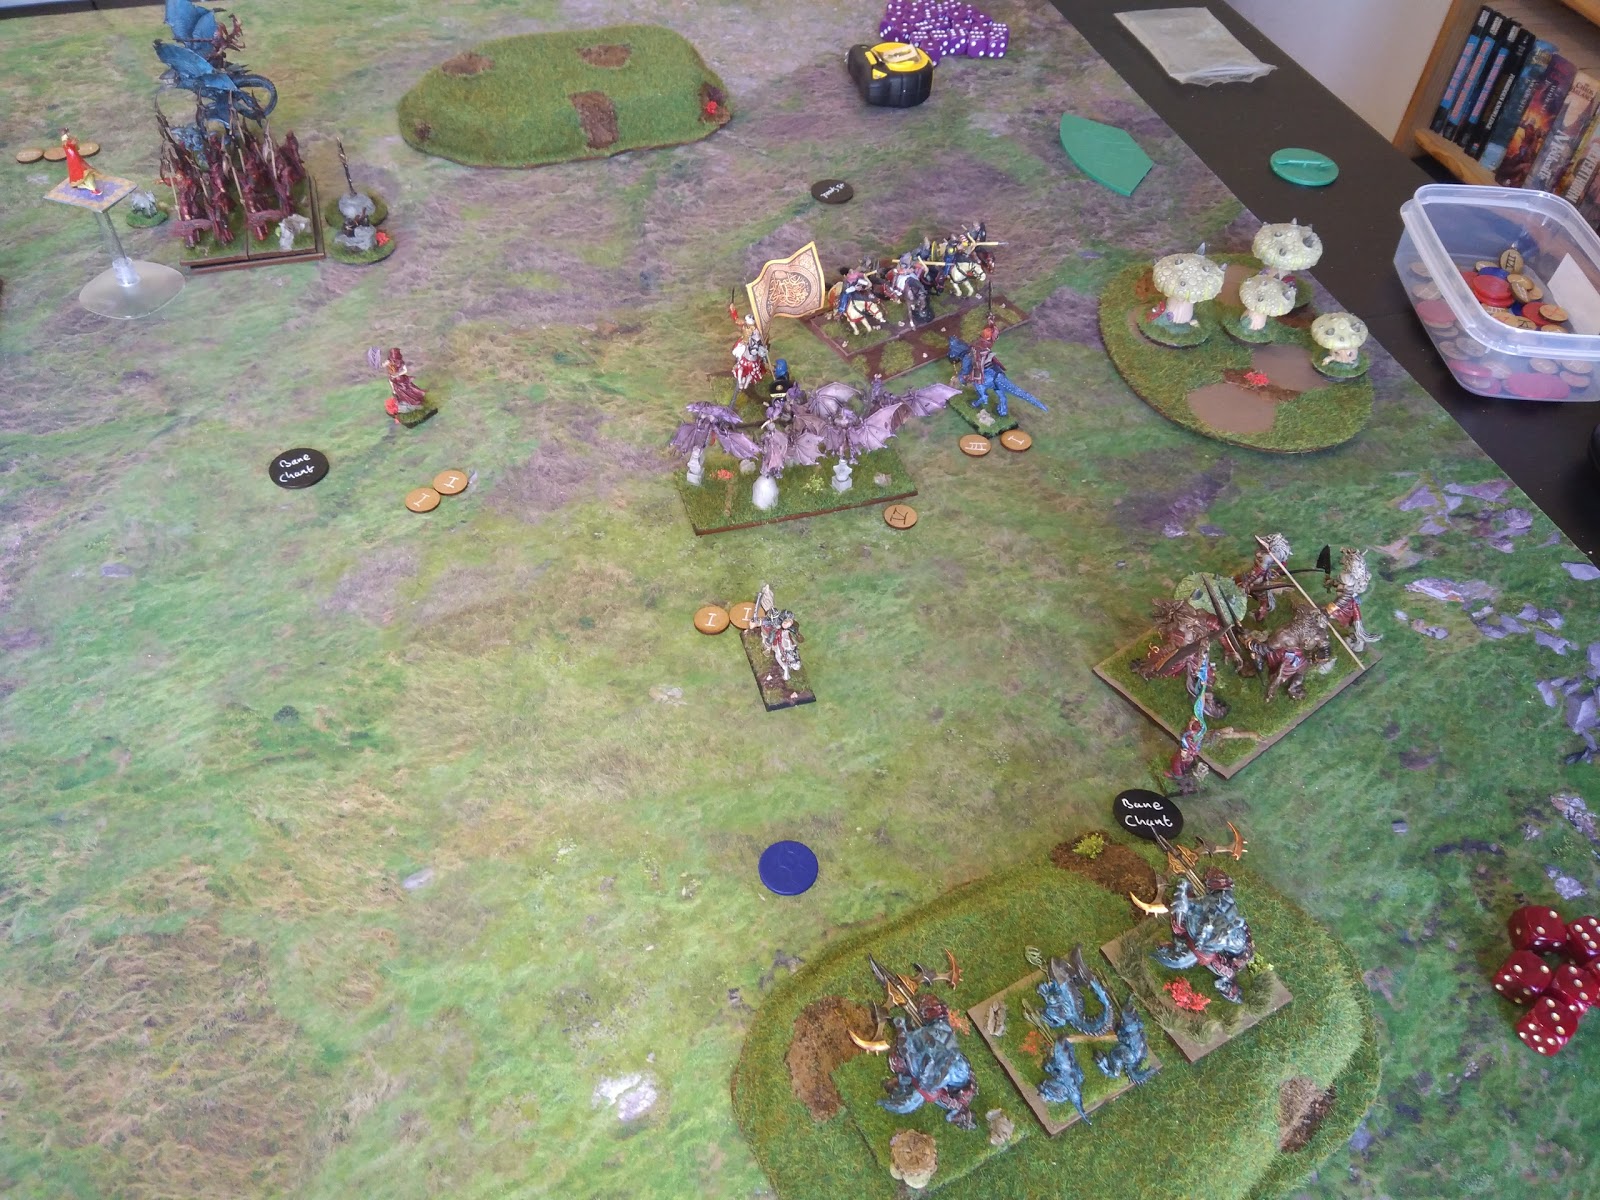
On the second turn I launched the Dark Knights into the Oliphant in the hopes they could wipe them out and then carry on to take a shot at the Berserkers carrying the Banner token, the Gargoyles moved to engage the archer cavalry and in hindsight they may have been better off moving to cover the right flank of the Knights.

Stuart checks for a flank charge
 The Knights wiped out the Oliphant for the third time out of the four battle it has fought in and the rest of the forces pushed up in the middle.


Centre Objective siezed

The artillery battery managed a great round of fire and wiped out a Knight Regiment and the right flank descended into a bloody melee with many units being committed to the fight.

It gets tasty on the right flank


On the left the Dark Knights went down to a charge by a Foot Guard Horde and the Flying Carpets and the Gargoyles and Horse Archers continued to trade blows. The ability of the Gargoyles to regen meant they had the advantage in this fight.


In the centre a nerve roll of double 1 meant that the archers covering the Foot Guard Horde with the Sword Artifact stayed in place but the artillery started to chip away at there nerve.
On the right my Kin had already wiped out the other unit of Horse Archers and in reply lost a Regiment of Buccaneers and the other Beast Pack. The Human Knight Regiment opted to advance to try and avoid a flank charge but got carried away and managed to line themselves up for another unit to be able to charge them.


During the next Kin turn things cleared up on my right as several charges cleared out some of the cavalry but I made a mistake by not turning my Shadows to face the Air Elemental lurking in the bottom right corner. In the centre a nerve roll of double 1 meant that the archers covering the Foot Guard Horde with the Sword Artifact stayed in place but the artillery started to chip away at their nerve.


This allowed it a flank charge which almost routed the Shadows and left them wavered.


In the centre the Humans started to double up on the Kin infantry managing to wipe out a Reaper Guard Regiment.


On the right Stuart sent the Berserkers to help out the Horse Archers who had been wavered by the Gargoyles.


The next Kin turn saw the Air Elemental wiped out in one furious Lycan charge and the blocking Archer Regiment finally dispatched. With a Regiment of Buccaneers on the hill ready to sacrifice themselves I followed up my Reaper Guard charge on the blocking Archers in the centre and moved another Regiment and the Dark Lord on Pegasus into flanking positions for the Human Foot Guard Horde with carried the Sword Artifact. 


The right flank was looking pretty clear at this point and the Artillery continued to add damage to the crucial Human Horde.


During the Human turn the much maligned non-inspiring Hero managed to get a wound off on the Shadows and they failed the nerve check giving the Humans a second bounty. They also charged the hill and took the bonus token so had a 3-0 VP lead.

The Uninspiring Hero wins the day

As time was once again pressing on we agreed that the only move that now mattered was if my forces had enough to wipe out the Foot Guard Horde and claim a token so we worked out only that combat.

Artifact seized

Between them my last Reaper Guard Regiment and the Dark Lord had enough to wipe out the Guards and claim a bounty and more importantly the Sword Artifact. 
So another victory for the Human's (3-1) and another bloody affair which could have gone either way perhaps had I not made a couple of mistakes. But such is the life of an armchair general.

So next is the last battle in the Campaign as the two sides seek to unlock the full potential of the Artifacts whilst preventing the other side from doing so. My aim to carry the majority of the Artifacts into this battle worked out so perhaps a victory is in sight ? 

Saturday 24 February 2018

SAGA v2 Formations

When I first heard about the changes in the new SAGA rules my initial thought was that the formation of models within the unit would be less important than before. This was because in the old version only models in base-to-base contact with an enemy or in base-to-base contact with a friendly in base-to-base contact with an enemy counted in the combat. Basically it was possible to arrange your models so that your opponent could not count all his/her models whilst you fought with your full force. In the new version if you have at least one model in contact then all the models in both units count in the fight. This rule along with the fact that all your models must end up within 4" of the first model that charges/moves and within 2" of another model in the unit would lead most units to end up in a blob or line (was my thinking).
As I will be playing Pagan Rus mostly in SAGA 2 until the Crusades book is released against Mick who loves a bit of shooting I also had a look at the shooting rules. These have stayed the same so attack dice are generated by counting each model in range (same as SAGA v1). This rule staying the same and the change to the melee rules got me thinking about what would be the best formation for my troops to adopt to reduce the amount of shooting that they take.
To help illustrate I lined some troops up and assumed they would be taking javelin fire but the reasoning works the same for bows.
So if I take two lines of troops and move my melee troops to within 6" of the ranged troops so I can single activate next turn to make contact they would get the entire front rank. In this instance it would six men generating 3 attack dice if the shooters are Warriors/Levy or 6 if they are Hearthguard.
If my opponent wanted to get the whole unit in then they would need to move forward first before shooting.

Standard setup

I then thought about what would be the best way to present as small a frontage as possible so as few of the enemy models would be in range but still leave me within 6" for the charge. The obvious example from various periods in history is the wedge.

10 man wedge
I put together a 10 man wedge and checked that the furthest model is within 4" of the 'leader' and obviously each model has at least a couple of friends within 2".
So this unit can now be positioned 6" away from the enemy archers and reduce the number of enemy models that can shoot depending upon the positioning of the unit.

Head On

Essentially the further towards an edge you are the less enemy models can shoot, so I would expect most people to say it is reasonable to count 3 shooting models if you are positioned near the middle but if you get a good corner angle then only 1 model would count.

Hit the Corner
In order to make the charge all you would need to do is move the 'leader' model and then move up the rest behind, the rules state that as long as the first model moved can make contact the rest need only maintain unit cohesion if they cannot reach.


Now of course none of this stops your opponent from moving so they can get more shots in but that does mean they will need to at least double activate in order to get that shot off which most likely means they will generate a fatigue.
Now I suspect that many (including myself) would feel this setup to be overly 'gamey' but if you are playing an army faster than yourselves that rely on shooting (I'm looking at you Bretons!) then making the enemy have to get closer to you to be effect may just be a sensible decision.

Saturday 17 February 2018

The Tide is High

For what promises to be our last game of SAGA v1 we played a fan made scenario called The Deadly Tide. This involves the two sides fighting on a battlefield with high ground in the middle whilst the tide moves from one side of the table to the other. The rising of the tide is controlled by a die roll so you cannot be certain how far if it all it will move, and we used our normal river boundary to mark out the leading edge of the water. Any model that was caught by the tide would be removed as a casualty and the victor decided on by slaughter points. 

The table
On the first turn the water only advanced 6" and as my Milites Christi had setup in a central position they could move forward without much worry.


Both sides advanced towards the hill but did not break formation.


On the second turn the tide did not advance so the Milites Christi crossbowmen seized the hill and had a couple of shots at the Crusader axemen without causing any casualties.


The Crusaders then charged the hill and wiped the crossbowmen out for the loss of one man.


After another 6" tide advance the Milites Christi knights charged the hill and after two combats managed to wipe out the Crusaders with 50% losses to themselves.


The second unit of Crusader foot hearthguard then charged the remnants and managed to wipe them out but due to some poor armour save rolls also got wiped out in return.


At this point the tide took a big leap forward and the Milites Christi seized the high ground once more and charged into the remaining Crusader hearthguard.

One Crusader was lost to the waters

Despite doing good casualties the Milites Christi lost the remaining hearthguard on the next Crusader turn as the Crusaders opted to stand and fight rather than move away from the advancing tide.


At this point fortune smiled on the Crusaders as the tide did not advance in turn 5 so rather than losing several men they could move away unhindered as the Milites Christi opted to stay on the high ground.


It then came down to the last throw of the dice for the advancing water with the Crusaders being 6" from the water anything other than a roll of 6 would see them survive. I had the roll and didn't get the 6 I needed so the Crusaders came away with the win. The slaughter points where 14 1/2 v 16 to the Crusaders.


All in all a very interesting battle which I thought I had won when the tide was set to wipe out the Crusaders only for a 1 to be rolled and the tide to stay put. I like to think that the inclusion of my Byzantine Warlord standing in as a mounted Priest made the difference.


Sunday 11 February 2018

Pantheon Progress

With Mick once again being struck down with a winter bug this week we didn't get a SAGA game in, but I have making steady progress on my Greek mythical models. Over the last two weeks I have managed to complete a few more troops and three of the larger monsters. The monsters really are good to paint as each one offers a chance to do something new.
First off the line was the Dragon Of Thebes, I went with a serpentine look and the model came together pretty quickly. I have based him on a 50mm square so he can be used in Kings of War if required. The plan for many of the monsters is to transfer them onto square bases so they can be used in KoW if in the future I have an army that they can be fitted into.


Next up are Atalanta and the Amazonians. I had thought that Atalanta was the leader of the Amazonians when I started painting only to realise that she wasn't.


But with her mix of ranged and melee abilities I suspect she would work well with the Amazonians.


The troops are being left on the round bases they come on generally, as I can always fit them onto a movement tray if I need to use them in KoW.
Joining this group is Echo who seems to have some Banshee like qualities. She is my first attempt at trying to use a white glaze on flesh tones to represent diaphanous cloth. Not being a large model meant that the effect was only on a small area, but in general I think it works well and I have several more smaller models to practice on before I get to the God models.


The Infernal Artillerymen are undead naptha throwers and even these fairly simple troops have a good amount of detail.


The next two are the Colchidian Dragon and the centaur Eurytion. The dragon has taken on the colours of a goldfish with an orange base and bronze dry bushing. I have also tried out a marshy effect by adding water effect to the base after the static grass was added. I'm not sure if I like the effect or not yet, but it is an effect I am thinking of using on some of my planned Herd army.
Eurytion has been mounted on a 25*50mm base so he can be used to represent a mounted Herd Shaman. Shaman's seem to be a core part of the Herd list as they can use a good range of spells and unusually for casters have inspiring.


Lastly comes the Griffon, again a really nice model. In keeping with my style of keeping the paint job simple he has not been overworked. I like the addition of the white band on the wings as it helps to break up wings, something I wish I had done on my giant eagle for the Kin.


So hopefully next week will bring a game with Mick and it is likely to be the last using SAGA v1 as V2 is now being shipped and we are eagerly awaiting our copies to arrive.